顧客ディスプレイ
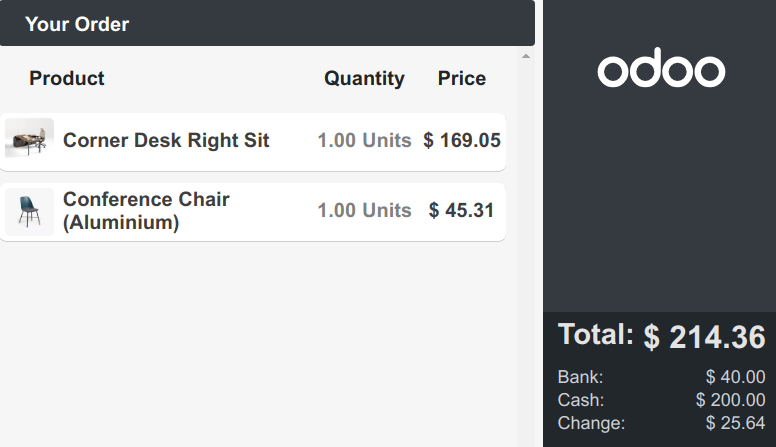
The customer display feature provides customers with real-time checkout updates on a secondary display.
設定
Depending on your POS setup, the feature can be displayed locally on a secondary screen, remotely on another device, or another monitor connected to an IoT Box.
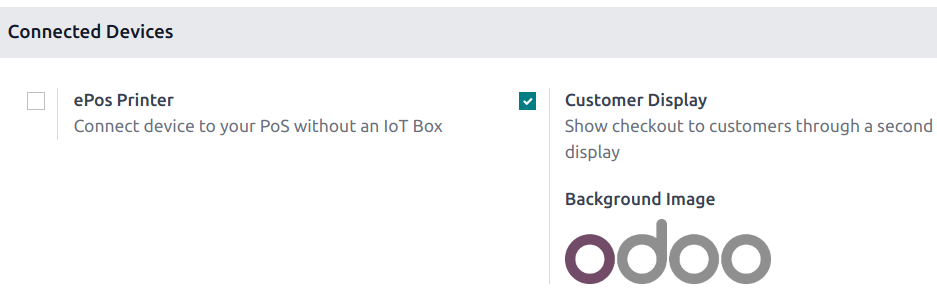
To activate the feature, go to the POS settings, scroll down to the Connected Devices section, and tick the Customer Display checkbox.
Local
Connect a second screen to your POS using an HDMI or USB-C cable, then,
Click the icon (hamburger menu).
Click the icon (customer screen) to open a new window to drag and drop onto the second screen.
For POS terminals running the Odoo Android app with dual-screen support,
Activate the Point of Sale Mobile module to enable the customer display.
Click the icon (hamburger menu).
Once installed, click the icon (customer screen) to open the customer display on the terminal's secondary screen.
リモート
Access your database from another device (any computer, tablet, or smartphone), go to the POS application, click the vertical ellipsis button (⋮) on a POS card, and then Customer Display to open the display remotely.
注釈
The two devices are not required to share the same network.
IoT system
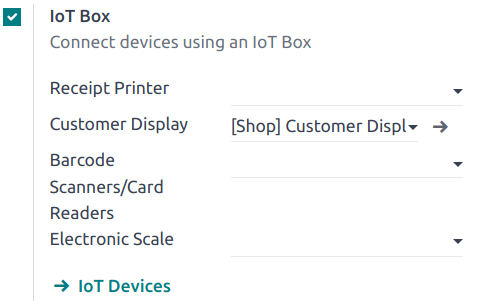
Connect an IoT box to your database and the second screen to the IoT box. Then, go to , scroll down to the Connected Devices section, tick the IoT Box checkbox, and select the second monitor in the Customer Display field.
注釈
Both devices need to be connected to the same local network.